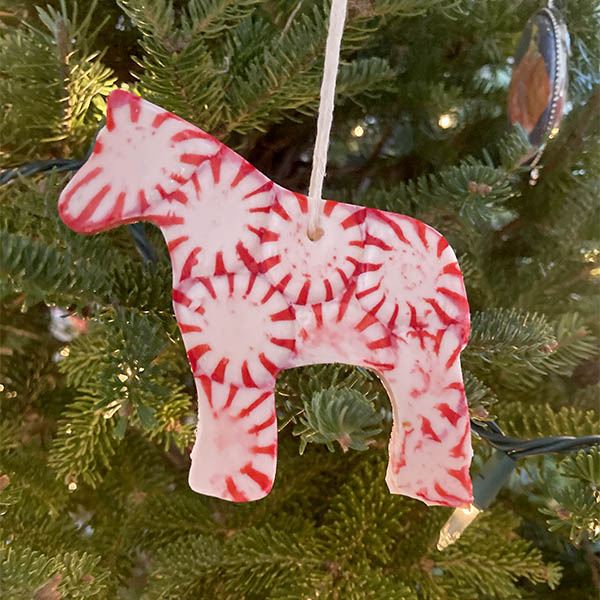
Looking for the perfect equestrian, DIY ornament this holiday season? In under 30 minutes, you can create festive and fun decorations for the barn or tree! This is a wonderful activity for 4-H groups, equestrian clubs, or any horse-loving family. As an added benefit, the ornaments are safe for equine consumption, so you can confidently decorate the barn and showcase your holiday spirit!
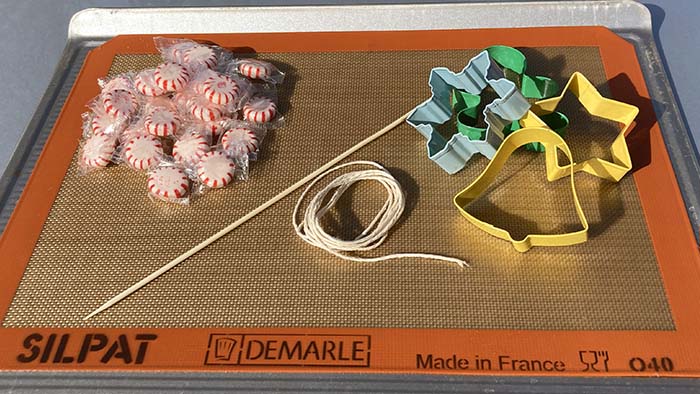
Materials
- Cookie Sheet
- Parchment Paper, Aluminum Foil, or a Silicone Baking Mat
- Cooking Spray
- Metal Cookie Cutters (consider using horse-themed cutters for an equestrian twist)
- Toothpicks or a Wooden Skewer
- Small Amount of Olive Oil
- Peppermint Candies
- Thin Twine
Directions
- Begin by preheating your oven to 350° Fahrenheit.
- Prepare the baking sheet by lining it with parchment paper, aluminum foil, or your silicone baking mat.
- Lightly spray the inside of the cookie cutters with the cooking spray. Then place the cookie cutters on your prepared baking sheet.
- Unwrap the peppermint candies and place them in a single layer inside the cooking cutters. If there are large holes without peppermints, break one into pieces to place into the holes.
- Carefully place the baking sheet in the oven and bake until the peppermints have just melted into each other (generally about 5-7 minutes). You want to make sure that you remove the peppermints before they start to bubble, since this can prevent them from hardening completely — and no one wants sticky ornaments! If a little bit leaks out from underneath the cookie cutter, stay calm. This is easy to remove after the ornaments have cooled.
- Remove from the oven and allow to cool for 2 minutes.
- Dip a toothpick into the oil and place it on the softened candies where you want to create a hole to hang the ornament. Gently push until you have connected with the baking sheet. Make small circles to slowly enlarge the hole to be wide enough for your twine to pass through it easily.
- Allow the ornaments to cool for an additional 15 minutes and then carefully remove them from the cookie cutters. You will want to do this while the ornaments are still warm. If they are completely cool they will stick to the cookie cutters and be much more difficult to remove. If you have any excess outside of the cookie mold, this is the time to carefully remove it.
- Place the ornaments back on the baking sheet and allow them to cool for several hours.
- Thread the twine through the holes in the ornament and tie it into a loop.
- Hang the ornaments and display them proudly!

We would love to see photos of your equestrian decorations! Please consider sharing them on our Facebook page. Are you looking for more ways to bring holiday cheer to your farm? Check out our blog post, Deck the Stalls! Safe & Festive Barn Decorations. Check out our Fun Festive Stirrup DIY Project for another fun craft project.