
Clipping a horse’s legs is more than grooming; it’s an opportunity to bond with your horse and help them look and feel their best. From ensuring a tidy appearance for the show ring to promoting skin health and hygiene, there are many reasons why horse owners choose to clip. But it’s more than just buzzing off hair; it’s an art that requires patience, the right tools, and a good understanding of your horse’s needs.
Why Clip Horse Legs?
Before we dive into the “how,” let’s consider the “why.” What are the primary motivations behind clipping a horse’s lower limbs?
- Show Ring Presentation: For many disciplines, a neatly clipped horse is a sign of professionalism and attention to detail. Clipped legs highlight muscle definition and contribute to a polished overall look.
- Hygiene and Health: Long, thick hair on the legs, especially around the pasterns and fetlocks, can trap dirt, moisture, and debris. This creates a prime breeding ground for bacterial and fungal infections, such as scratches (pastern dermatitis) and mud fever. Clipping allows for easier cleaning, quicker drying, and better airflow, significantly reducing the risk of these common skin conditions.
- Wound Care: If your horse sustains a leg injury, clipping the hair around the wound allows for easier cleaning, application of medication, and monitoring of the healing process.
- Therapeutic Treatments: When applying poultices, liniments, or cold therapy boots, shorter hair ensures better contact and effectiveness of the treatment.
Tools of the Trade: What You'll Need
Having the right equipment is crucial for a successful and safe clipping experience.
- Clippers: This is your most important tool. You’ll likely need a good pair of small, quiet clippers for legs and sensitive areas. Larger body clippers can be too cumbersome and loud for the intricate work required on legs. Look for clippers that are relatively lightweight and have a good grip. Cordless options offer more flexibility.

- Blades: You’ll need sharp, clean blades. A #10 blade is a common choice for general clipping on legs, leaving a neat, short finish. For very fine hair or a super close clip, a #15 blade can be used, but be cautious as it can increase the risk of clipper burn. Always have a spare set of blades on hand.

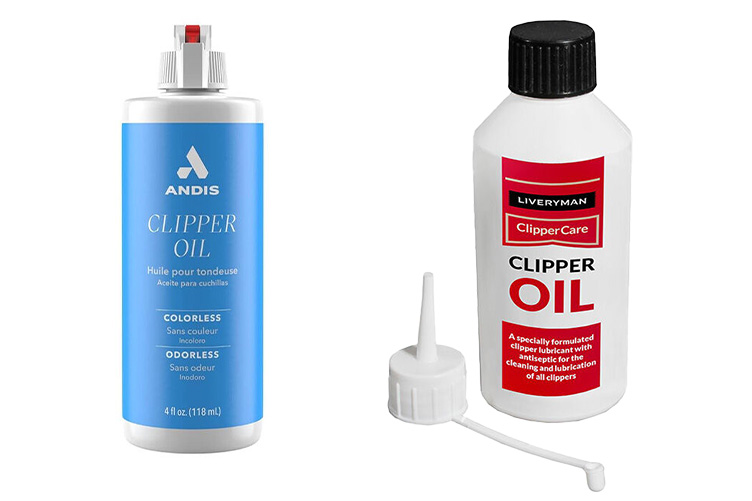
- Clipper Oil: This is essential for lubricating your blades during clipping. Apply a few drops of clipper oil, like Andis Clipper Oil or Liveryman Clipper Oil, every 5-10 minutes to keep blades running smoothly and prevent overheating.
- Clipper Wash/Coolant: This helps to clean and cool down hot blades, which is especially important if you’re doing a full leg clip. Some of our favorites include Andis Cool Care Plus for Clipper Blades and Oster Kool Lube.

- Brush/Comb: A stiff brush or comb will help you remove loose hair and dirt before and during clipping.
- Towel: This is helpful for wiping down your horse’s legs and your clippers.
- Treats: Positive reinforcement goes a long way, especially for horses new to clipping.
- Quiet Environment: Choose a calm, well-lit area where your horse feels comfortable and there are minimal distractions.
Pre-Clipping Preparation
Preparation is key to a smooth and stress-free clipping session.
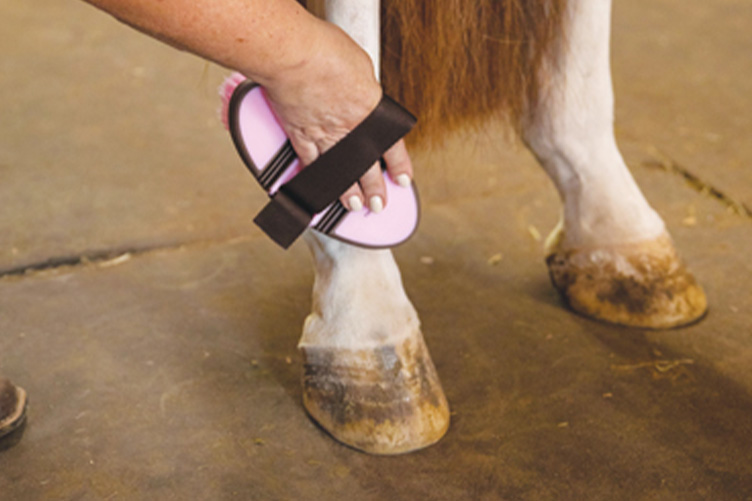
- Clean Horse, Clean Clip: The golden rule of clipping: never clip a dirty horse. Dirt and grit will quickly dull your blades and lead to uneven results and clipper burn. Thoroughly wash your horse’s legs, paying close attention to the pasterns and fetlocks. Allow them to dry completely. If washing isn’t feasible, thoroughly brush and curry the legs to remove as much dirt as possible.
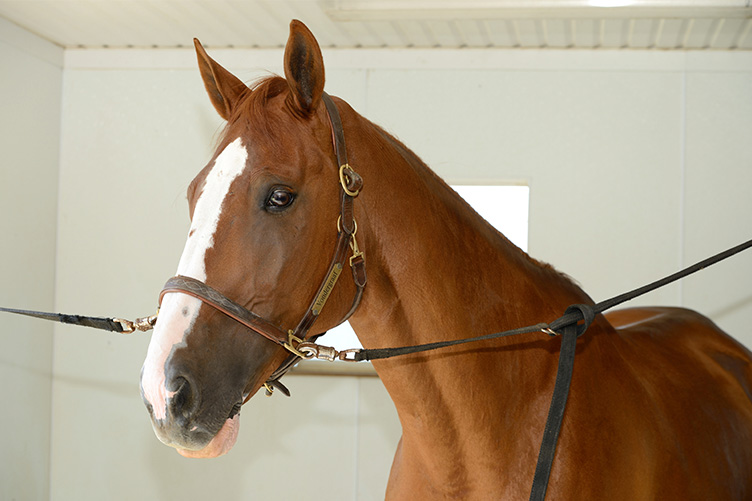
- Secure Your Horse: Tie your horse securely but in a way that allows for some movement if needed. A cross-tie setup is often ideal.
- Blade Check: Ensure your blades are sharp, clean, and properly oiled before you begin.
- Plan Your Strategy: Decide exactly which areas you will be clipping and how high up the leg you intend to go. For many, this means just the lower legs, up to just below the knee and hock, or even just the pasterns and fetlocks.
- Practice Makes Perfect: If your horse is new to clipping, introduce the clippers gradually. Let them sniff the clippers, turn them on away from the horse, and then slowly bring them closer. Touch the back of the clippers (the non-blade end) to their shoulder or neck first, allowing them to get used to the vibration and sound. If this is your first time clipping your horse, we recommend a practice run a few weeks before your competition or event.
The Art of the Clip: A Step-by-Step Guide
Now for the hands-on part. Remember to take your time, be patient, and always prioritize your horse’s comfort and safety.

- Start with the Easiest Leg: Begin on a leg where your horse is most comfortable. Often, this is a front leg. Stand to the side of the leg you are clipping, never directly in front or behind.
- Establish Your “Line”: If you’re clipping above the pasterns or fetlocks, decide where you want your top line to be. For a professional show clip, this line is typically kept quite low, just above the fetlock joint, or slightly higher but still below the knee and hock. Some owners prefer to clip higher up the cannon bone. For a neat finish, try to make this line as straight and even as possible. You can even use a piece of duct tape as a guide if you need a super crisp line.
- Hold the Skin Taut: This is crucial for a clean cut and to prevent snagging the skin. Use your free hand to gently pull the skin taut in the direction opposite to your clipping stroke.
- Clip Against the Hair Growth: Always clip against the natural direction of hair growth. This ensures the shortest, cleanest cut. You’ll feel the resistance as you push the clippers against the grain.
- Short, Even Strokes: Use short, overlapping strokes. Don’t try to clip too much at once. Overlap each stroke slightly to avoid lines and track marks.
- Navigate Tricky Areas:
- Pasterns and Fetlocks: These areas have many folds and wrinkles. Take extra care here. You may need to gently stretch the skin or use your fingers to smooth out wrinkles. Be very gentle around the ergot and chestnuts.
- Heels: These are often very sensitive. Go slowly and gently.
- Joints: Be mindful of bony prominences.
- Take Breaks: This is important both for your horse and your clippers. If your blades start to feel hot, cool them down with clipper coolant and re-oil. Offer your horse a break and some praise.
- Check for Hot Blades: Continuously check your blades for heat by touching them with the back of your hand. Hot blades can cause clipper burn, which is painful for the horse and can lead to skin irritation.
- Step Back and Assess: Regularly step back to view your work from different angles. This helps you ensure an even clip and catch any missed spots.
- Finish Up: Once you’re satisfied with the clip, brush away any loose hair.
Post-Clipping Care: The Finishing Touches
Once the clipping is done, your work isn’t quite finished.
- Wipe Down: Use a damp towel to wipe down your horse’s legs, removing any remaining loose hair or clipper oil residue.
- Clean and Store Clippers: Thoroughly clean your clippers and blades. Remove all hair, clean the blades with clipper wash, and re-oil them before storing them in a clean, dry place. Proper maintenance extends the life of your equipment.
- Monitor for Irritation: Keep an eye on your horse’s legs for the next few days for any signs of clipper burn, redness, or irritation. If you notice any, apply a soothing cream designed for equine skin, such as Coat Defense Something Better Balm or EQyss Micro-Tek Equine Gel.
Clipping your horse’s legs is a skill that improves with practice. While it might seem intimidating at first, with the right tools, preparation, and a calm approach, you’ll soon be able to achieve a professional-looking clip that benefits both your horse’s appearance and their health. So, take a deep breath, grab your clippers, and embrace the art of the neat leg!
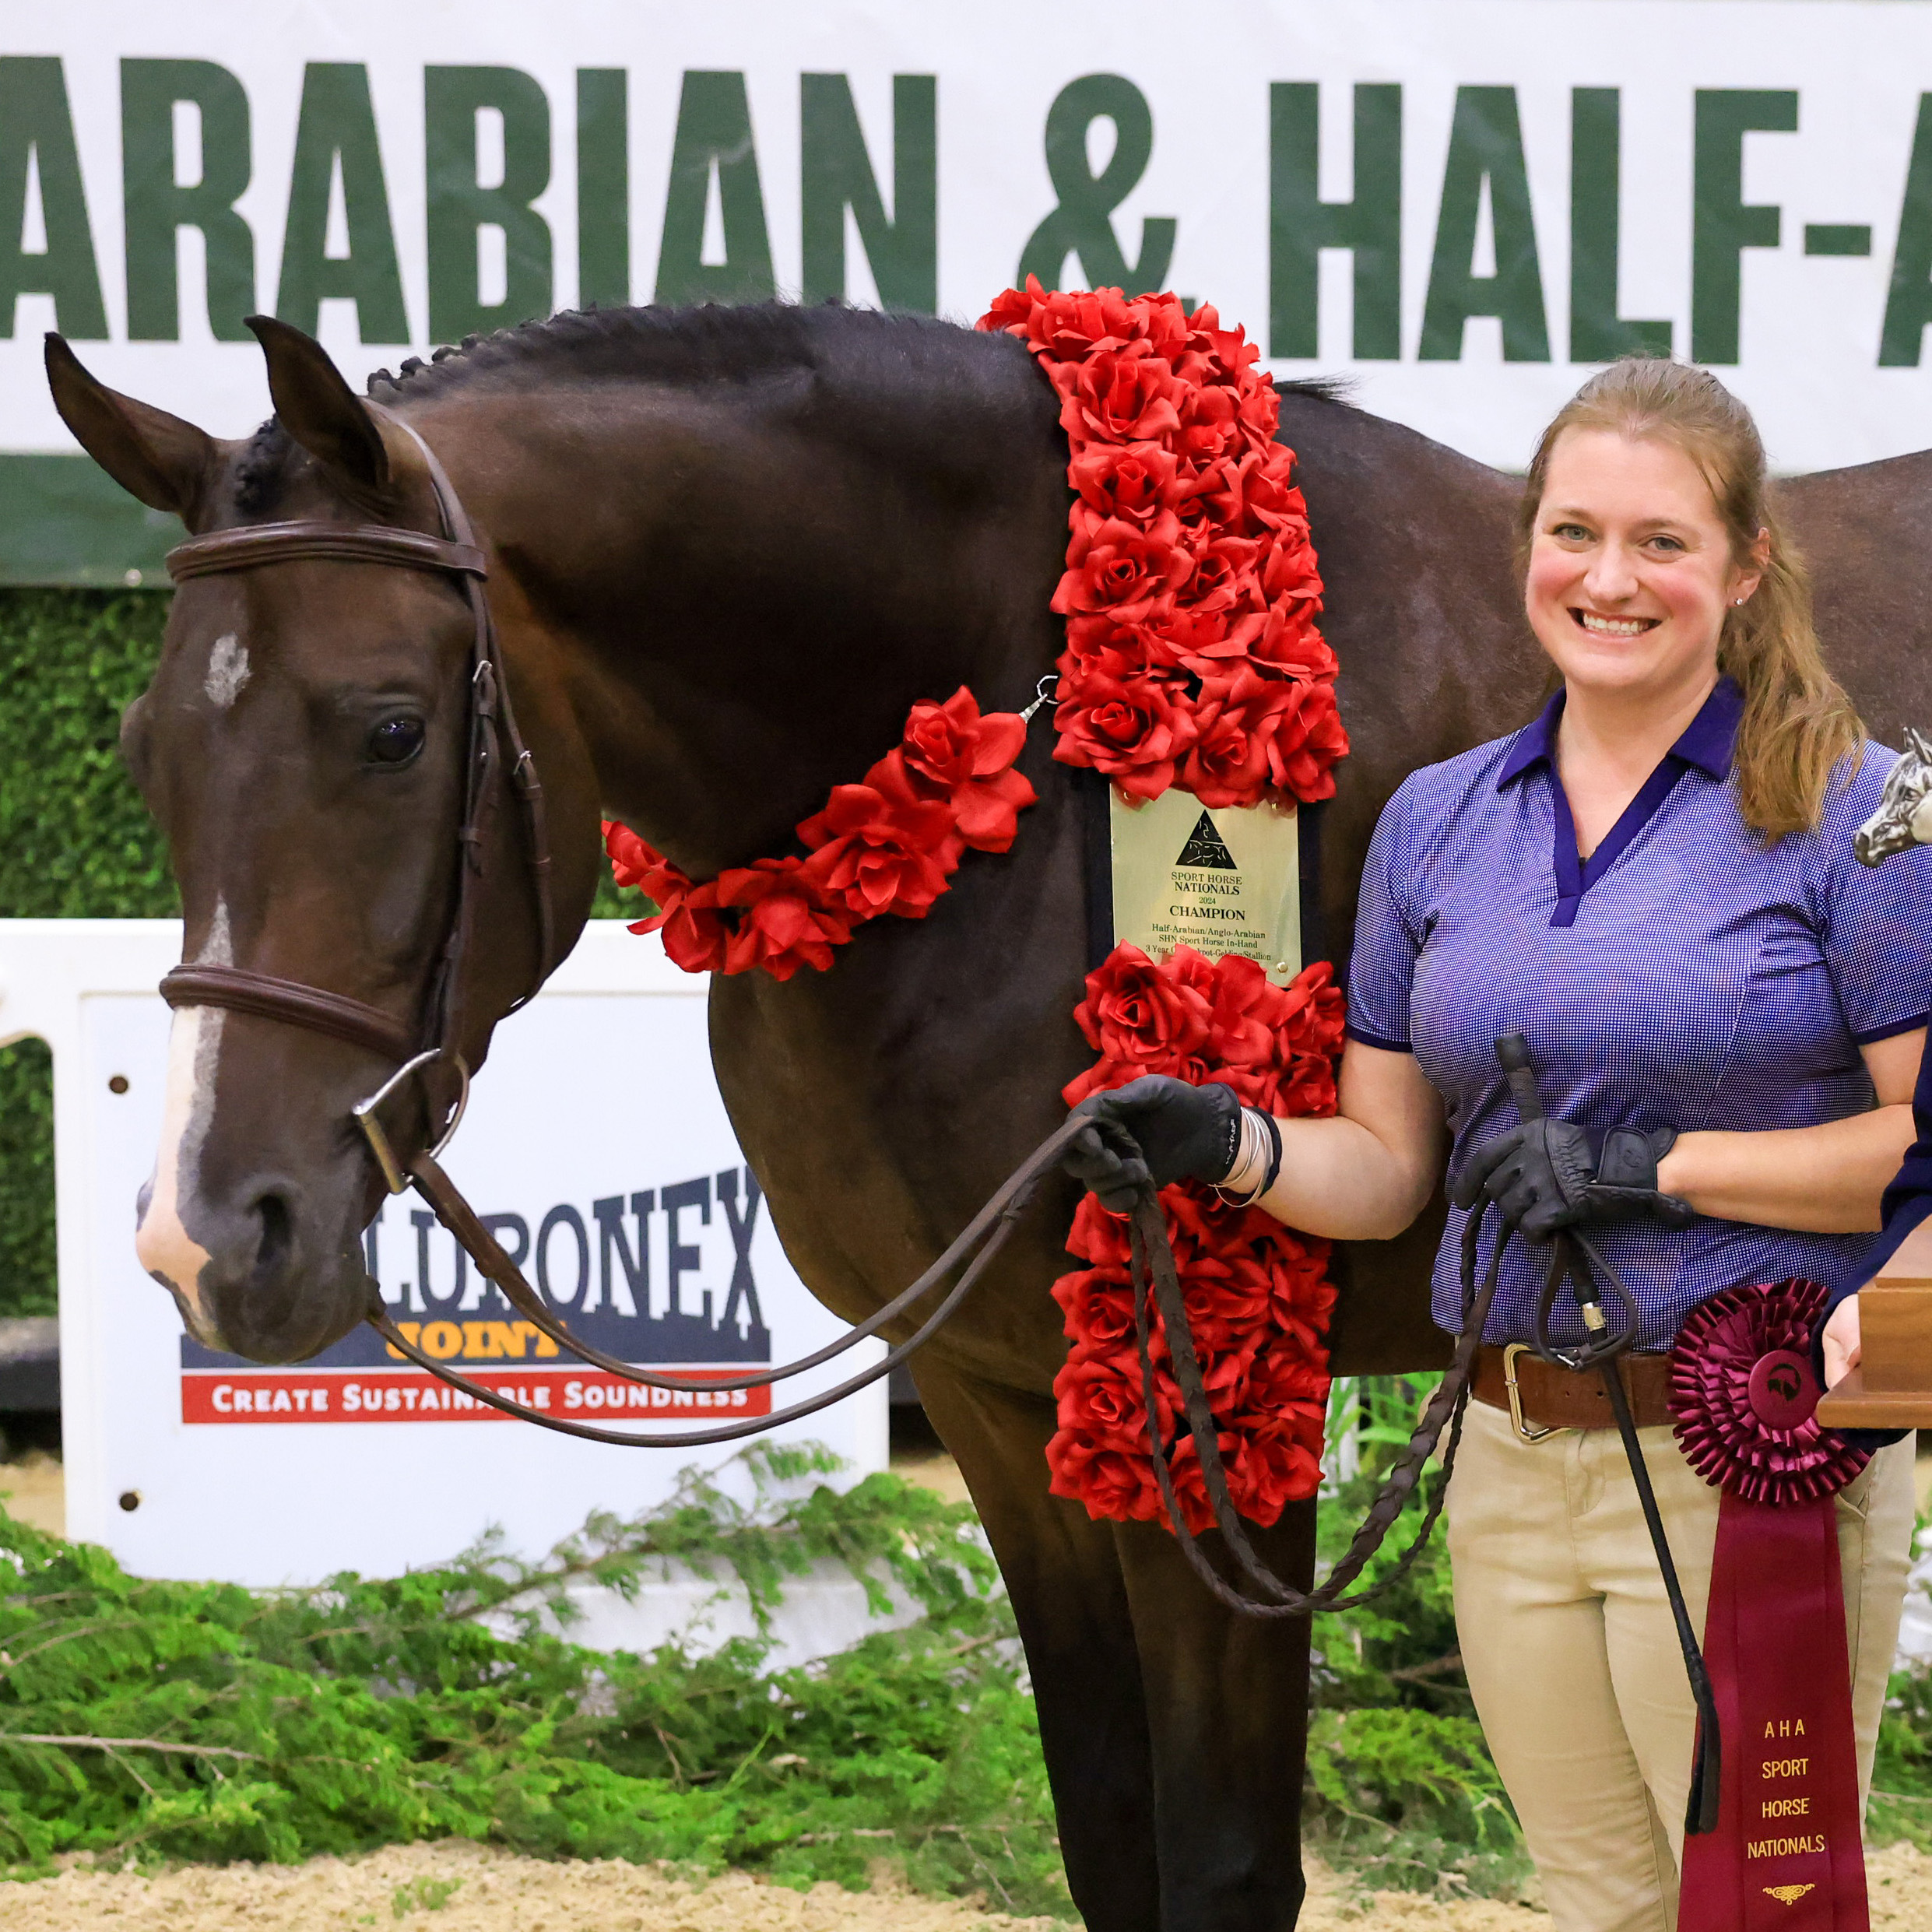
Jennifer Keating is an equestrian and the e-commerce copywriter for The Cheshire Horse. She’s been competing on the hunter/jumper and Arabian circuits for years and has earned nearly 20 national championship titles along the way. She’s still actively showing while also writing about the products and gear she knows from real experience in the barn and the ring.