For many equestrians, a neatly groomed horse is a point of pride, especially when heading into the show ring. While full body clips, bridle paths, and tidied muzzles are common, the horse’s ears often present a unique challenge. Their sensitivity, the delicate nature of the skin, and the importance of ear hair for natural protection can make clipping them a daunting task. However, with the right approach, tools, and a good dose of patience, you can achieve a clean, professional look while keeping your horse comfortable and safe.
Why Clip a Horse's Ears?
The primary reasons for clipping a horse’s ears typically revolve around aesthetics and hygiene:
- Show Ring Presentation: In many disciplines, particularly English riding (hunters, jumpers, dressage) and some Western disciplines, a tidy ear is considered essential for a polished appearance. It gives the horse a cleaner, more refined look.
- Hygiene and Comfort: While ear hair provides some natural protection from bugs and debris, excessive fuzz can sometimes trap dirt or become matted. Carefully trimmed ears can be easier to keep clean, especially for horses with very thick ear hair.
- Aesthetic Preference: Some owners simply prefer the neatness of clipped ears for their everyday horse, even if they don’t show.
Important Consideration: The “To Clip or Not to Clip” Debate: It’s worth noting that clipping the hair inside a horse’s ears is a topic of debate. The hair serves as a natural barrier against insects, dust, and debris. Removing it can make the horse more susceptible to these elements, as well as sunburn on the delicate skin. For this reason, many equestrians opt to only trim the outer edges and the longer, unruly hairs, leaving the protective inner hair intact. Always consider your horse’s lifestyle, environment, and personal comfort when deciding how much to clip. For horses that live outside full-time, leaving more ear hair is often preferable.
Tools of the Trade: What You'll Need
Having the right equipment is crucial for a safe and effective ear clip:
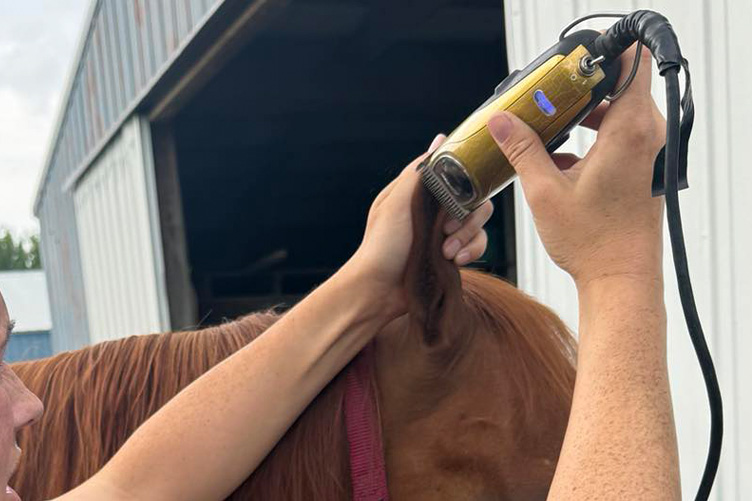
- Small, Quiet Clippers/Trimmers: This is paramount. Large body clippers are too cumbersome, loud, and can easily overheat for ear work. Invest in a pair of quiet, lightweight, cordless clippers or trimmers specifically designed for sensitive areas like faces and ears. Popular brands include Wahl, Andis, and Heiniger.
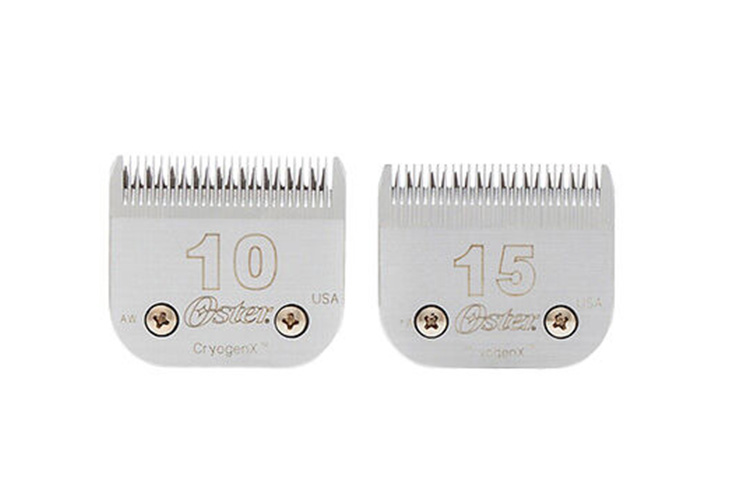
- Sharp Blades (Size #10 or #15): Dull blades pull hair, causing discomfort and uneven results. Always start with freshly sharpened or new blades. A #10 blade is standard for a clean finish, while a #15 provides a slightly closer clip.
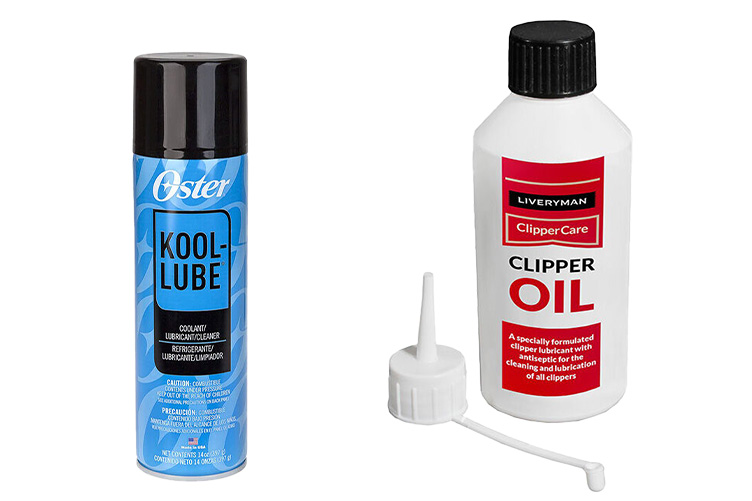
- Clipper Oil & Coolant: This is essential to keep your blades running smoothly, prevent overheating, and extend blade life. Apply oil frequently (every 5-10 minutes) and use coolant if blades feel warm.
- Soft Brush or Cloth: This is helpful for wiping away loose hair from the blades and your horse’s ear.
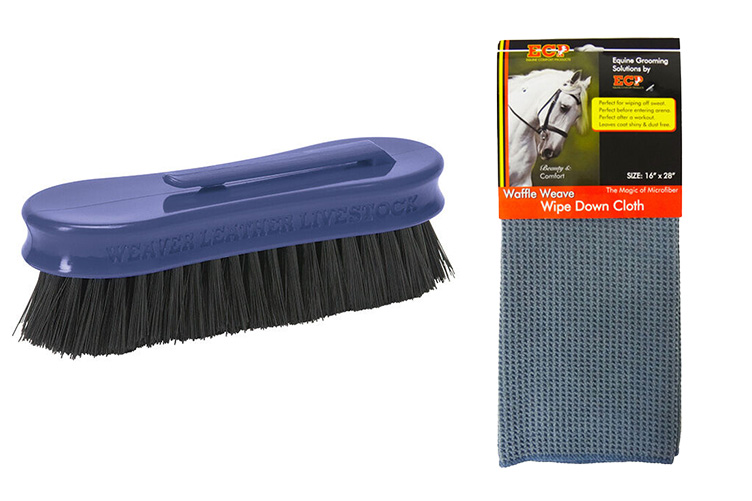
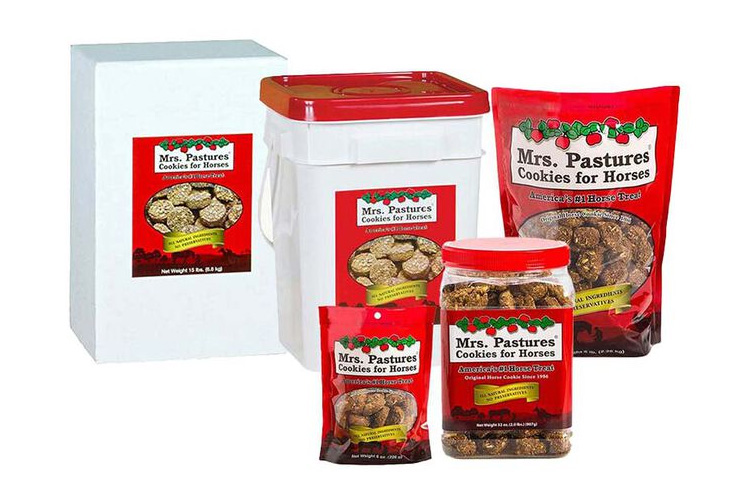
- Treats & Praise: Positive reinforcement is your best friend, especially for a sensitive area like the ears.
- Quiet, Well-Lit Area: Choose a calm environment where your horse feels secure and you can see clearly.
- Optional: Step Stool/Mounting Block: This can help you to get at eye-level with your horse’s ears for better control and visibility.
Pre-Clipping Preparation: Setting the Stage for Success
Preparation is key to a stress-free experience for both you and your horse.
- Check Blades: Ensure your blades are sharp, clean, and well-oiled before you even start. This prevents pulling, which is a major cause of ear sensitivity.
- Clean Ears: Ensure your horse’s ears are clean and dry. Dirt and oil will dull your blades quickly and can lead to an uneven clip. A quick wipe with a damp cloth can help.
- Secure Your Horse: Tie your horse securely but comfortably in cross-ties or with a handler. Ensure they have enough room to move their head slightly without feeling trapped. A hay net can sometimes be a good distraction.
- Acclimation and Trust: This is the most important step, especially for horses new to clipping or those with ear sensitivity.
- Start Slow: Begin by simply touching and gently massaging your horse’s ears. Reward positive responses.
- Introduce Clippers (Off): Let your horse sniff and investigate the clippers while they are off. Rub the back of the clippers (the non-blade end) on their shoulder, then neck, gradually moving closer to the head and ears.
- Introduce Clippers (On, Away): Turn the clippers on, but hold them away from your horse, letting them get used to the sound. Reward calmness.
- Gradual Approach: Slowly bring the running clippers closer, starting with their shoulder, then neck, then poll, gradually approaching the ear. Take your time. If your horse shows signs of discomfort (head tossing, tension, backing away), stop, go back a step, and reassure them.
- Short Sessions: It’s better to have several short, positive sessions over a few days than one long, stressful one. Always end on a good note.
The Clipping Process: Step-by-Step
Approach ear clipping with patience, a light touch, and constant awareness of your horse’s reactions.
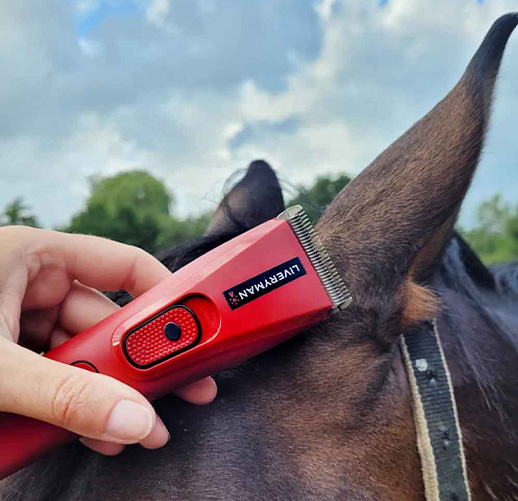
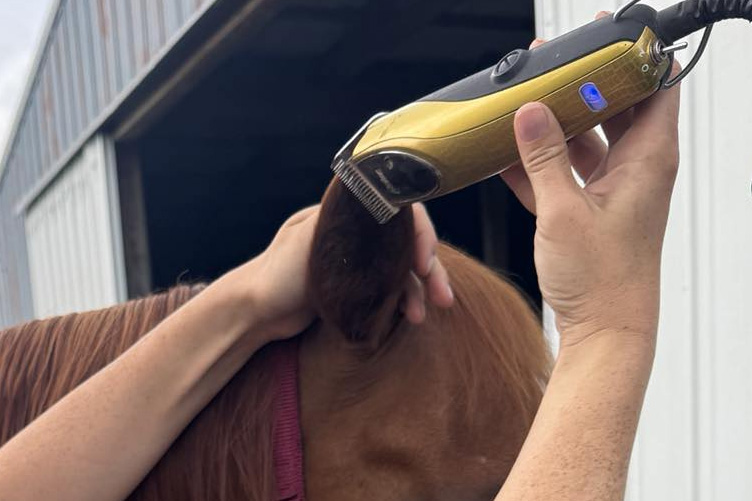
1) Start with the Outer Edges (The “Taco Fold”):
- Gently fold your horse’s ear lengthwise, as if making a “taco” or folding it in half. This brings the longer, unruly hairs on the outer edges together.
- With your small, quiet clippers, carefully run the blades downward along the folded edge, trimming off only the hair that sticks out. Use short, smooth strokes.
- Unfold the ear and assess. This method creates a clean, tidy edge without removing too much protective hair from the inside. Repeat on both sides of the ear.
2) Address the Back of the Ear:
- The hair on the back of the ear, particularly towards the base, can be long and fuzzy.
- Using your clippers with a #10 blade, gently skim over these longer hairs, blending them down towards the base of the ear and into the poll/neck area. You might clip with the hair growth here to leave a slightly longer, more natural finish, or against it for a closer clip, depending on desired look and hair thickness.
- Support the ear with your free hand to keep it steady and taut.
3) Consider the Inside (Use Caution and Discernment):
- Debate & Risk: As mentioned, many recommend not clipping the inside of the ear for protection. If you choose to clip for show, do so with extreme care.
- Technique: Gently turn the ear inside out to expose the inner hair. Using your small clippers with a #10 or #15 blade, use very light, smooth strokes, always clipping with the direction of hair growth to avoid a harsh look or irritation.
- Avoid Deep Clipping: Do not clip deeply into the ear canal. Focus only on the hair visible around the opening and the inner folds.
- Smaller Clippers for Detail: For very tight corners or smaller horses/ponies, a tiny detail trimmer can be helpful.
4) Blending and Finishing:
- Step back frequently to assess your work from different angles. Ensure both ears are even.
- Blend any lines or demarcation points by clipping with the hair or using a very light, skimming motion.
- Use a soft brush or cloth to wipe away loose hair as you go, keeping the area clear.
Post-Clipping Care
- Cleanse: Use a damp cloth to wipe down the clipped areas, removing any loose hairs or clipper oil residue.
- Monitor: For the next few days, keep an eye on the clipped areas for any signs of irritation, redness, or clipper burn. If noticed, apply a soothing, horse-safe balm.
- Fly Protection: If you’ve clipped the inner ear hair, consider using a fly mask with ears, especially for horses turned out, to provide protection against insects and sun.
- Clean Clippers: Thoroughly clean your clippers and blades. Remove all hair, clean the blades with a blade wash, and re-oil them before storing them properly.
Clipping a horse’s ears can be one of the more challenging grooming tasks, but with patience, the right tools, and a focus on your horse’s comfort, you can achieve a professional and tidy finish. Remember, a calm, trusting horse is always the goal, and sometimes, less is more when it comes to clipping these sensitive areas.
Jennifer Keating is an equestrian and the e-commerce copywriter for The Cheshire Horse. She’s been competing on the hunter/jumper and Arabian circuits for years and has earned nearly 20 national championship titles along the way. She’s still actively showing while also writing about the products and gear she knows from real experience in the barn and the ring.